ADB (Android Debug Bridge) is a “bridge” for developers to work in debug mode in their Android applications. This is done by connecting a device that runs the software through a PC, and feeding it terminal commands. ADB lets you modify your device (or device’s software) via a PC command line. In this article I show how to configure ADB to work with a USB Nexus 4 device in the Linux CentOS distribution. To do this the Android phone needs to get rooted, e.g. you need to remove the protection and unlock the “Developer options”. The ADB tool is provided with the Android SDK r16.0.1 and higher. In this post I use the Android SDK with the bundle-linux version of the Eclipse ADT ide.
APPLICATION STACK
Linux CentOS 6.5 x86_64
LG Nexus 4
Android SDK 4.4.2
Android Debug Bridge 1.0.31
Eclipse ADT bundle-linux-x86_64-20130514
STEP 1. Download Eclipse ADT with Android SDK
Download the bundle-linux version of Eclipse ADT:
http://developer.android.com/sdk/index.html
STEP 2. Unlock the Developer Options on Nexus 4
Setting > About phone > Start tapping (7 times) on Build number option, ‘you are now developer’
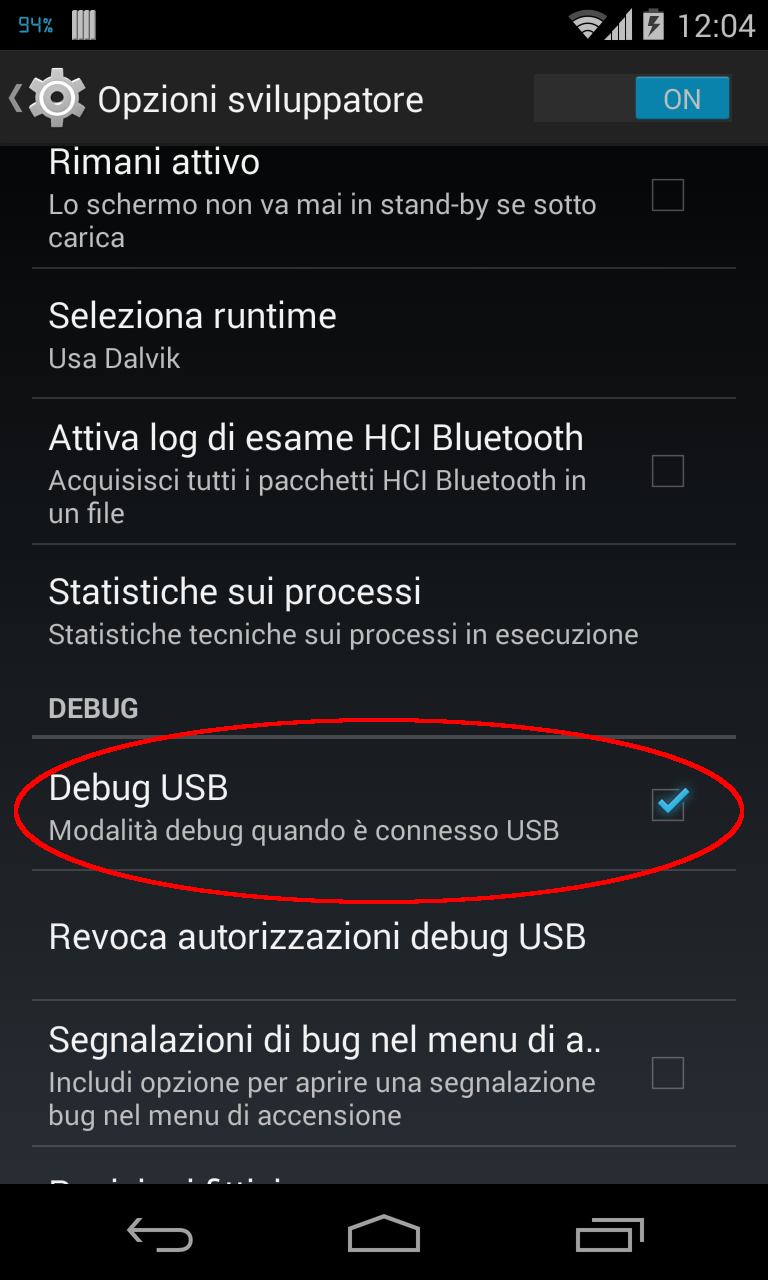
STEP 3. Enable the USB Debug mode on Nexus 4
Go to Setting > Developer options > Enable USB Debugging
STEP 4. Configure the ADB USB device
$ vi /etc/udev/rules.d/50-android.rules
# LG Nexus 4 vendor ID
SUBSYSTEM=="usb", SYSFS{idVendor}=="18d1", SYMLINK+="android_adb",MODE="0666", GROUP="plugdev"
$ udevadm control --reload-rules
STEP 5. Start the ADB daemon
Connect the USB Nexus’s cable with your PC and start the ADB daemon
$ home/giuseppe/apps/eclipse/adt-bundle-linux-x86_64-20130514/sdk/platform-tools/adb kill-server

$ home/giuseppe/apps/eclipse/adt-bundle-linux-x86_64-20130514/sdk/platform-tools/adb start-server

$ home/giuseppe/apps/eclipse/adt-bundle-linux-x86_64-20130514/sdk/platform-tools/adb/devices
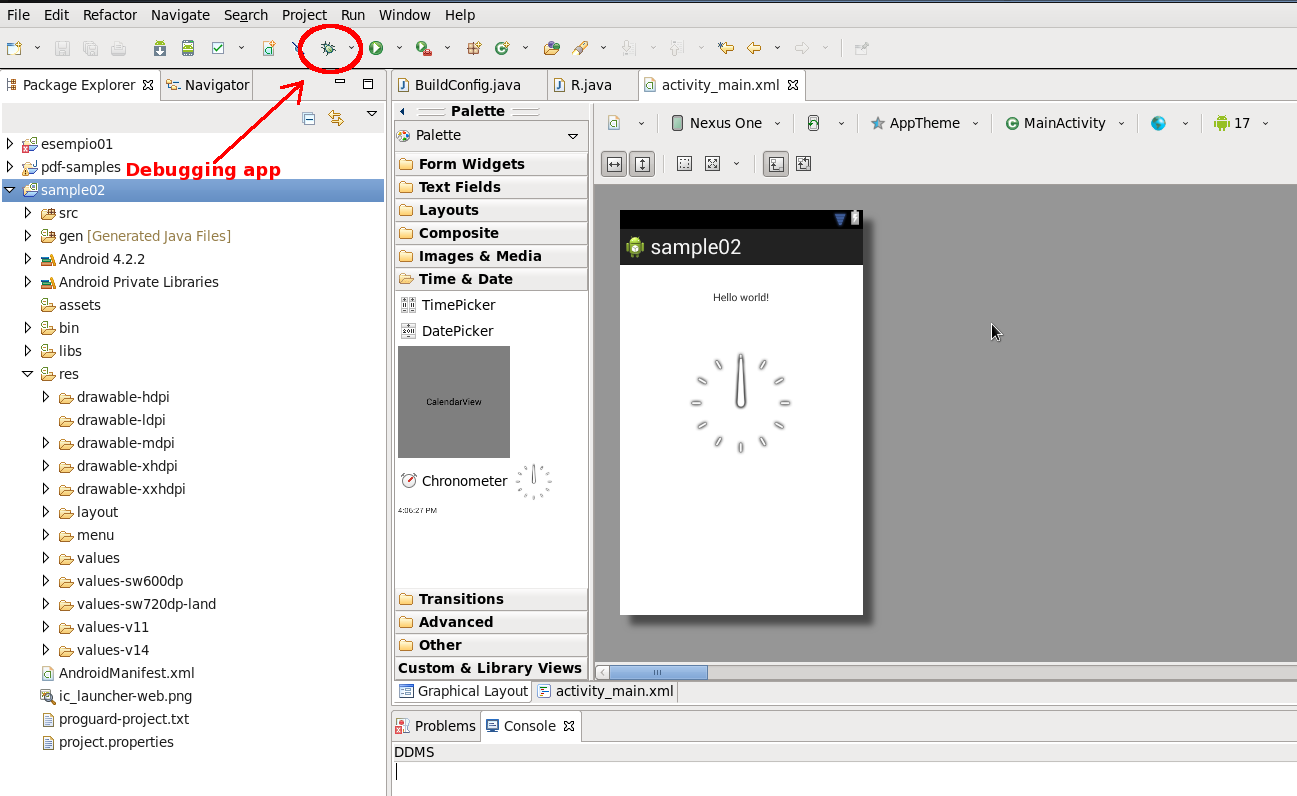
STEP 6. Debug Andorid apps in Eclipse using ADB
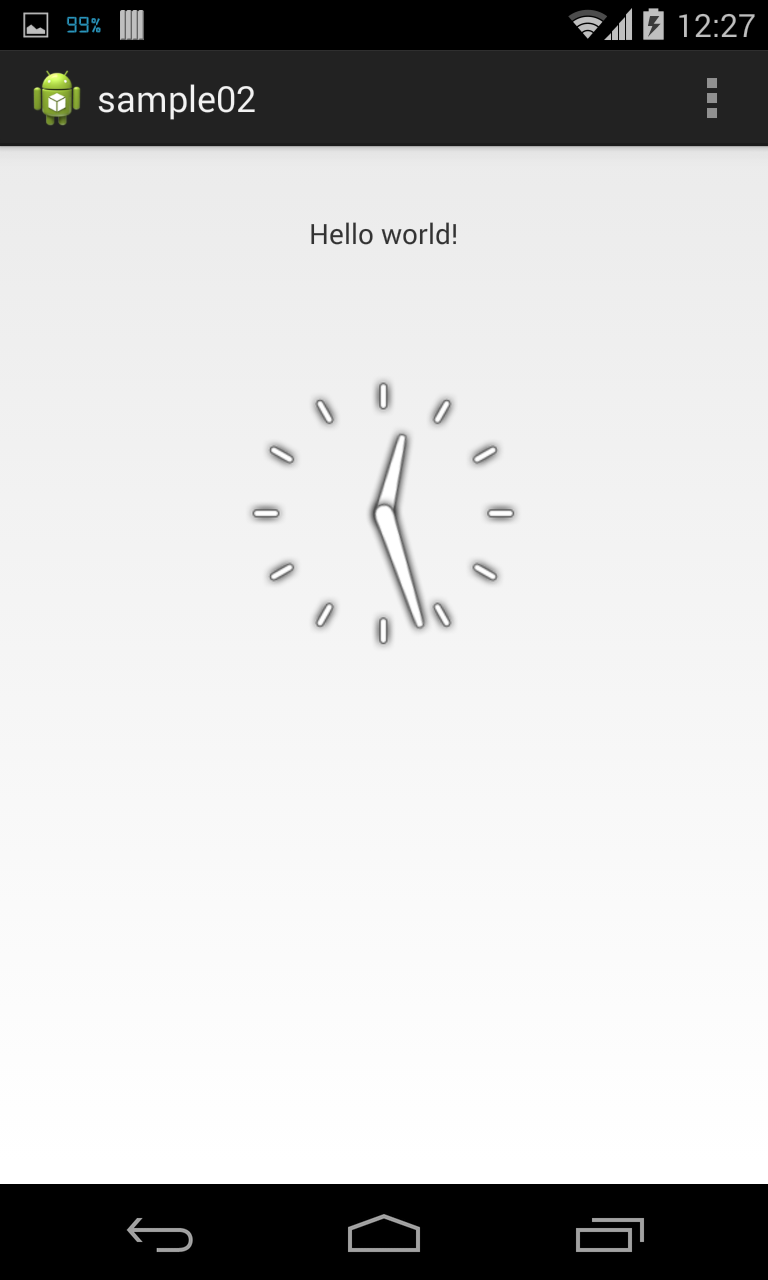
Start the Eclipse ADT ide and run the debug mode
 English
 Italian
